
What Goes Into My Tech Packs?
That is a very good questions. Here is a in-depth explanation which will help you understand the detail that goes into every one of my tech packs and the process. If you want to check out my past post about why you need tech packs click here.
I create my tech packs in Adobe Illustrator and deliver them to you in PDF format. I know some people use excel and both have pros and cons but I find in illustrator you can create a layout that is easier to understand, and more visually appealing, which ultimately helps guide the manufacturer more effectively. My aim is to help you fully understand the technical information that goes into creating your garments, so this will also help you too.
The First Page - Cover - Will Have All The Basic Information:
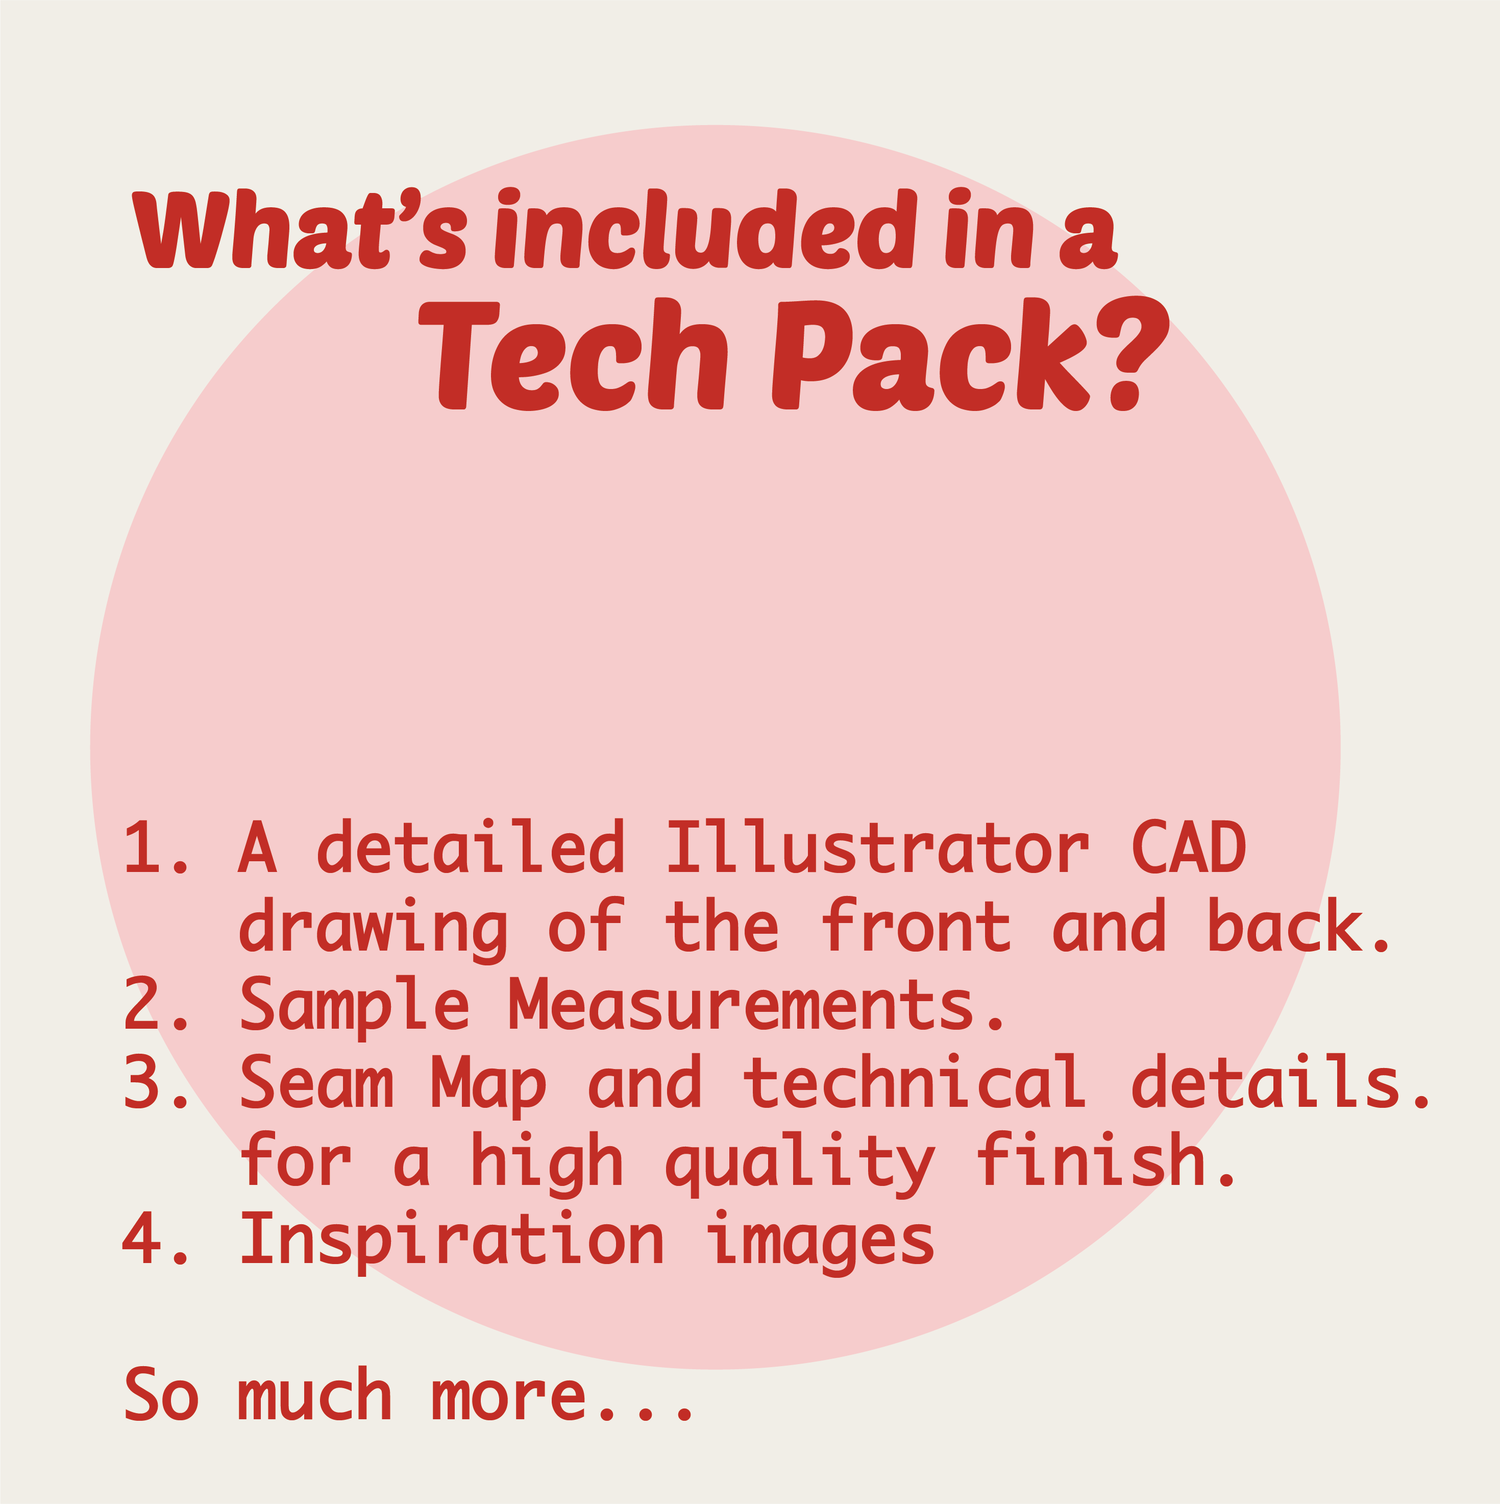
A detailed Illustrator CAD drawing of the front and back of the garment - coloured in, with all the correct stitching details.
A unique style number, that I will generate for maximum effectiveness. When communicating about your designs it is best to get into the habit of quoting the style number to avoid any confusion.
Garment description, fabric description (jersey, linen, etc), Fabric information (details to be supplied, and can be updated at a later date if still sourcing).
Colour-way info, thread type and colour.
Trim list (colour, type and amount needed, if you have specific trims sourced I can include images or example images of what you aim to source).
Sample size and size range required in production.
Company logo (if you have one) to make your tech packs easily recognisable
Date the sample is required to help set a deadline for the work. I normally give a two-week window upon handing over your designs to the factory.
Having all this information on the first page makes the tech pack quick to refer to all in one place without flipping through the pages.
Then the following pages will go into further details. This is the best practice that I have learned through my years of working in the industry.
Page Two - Design Page:
Black and white front and back CAD drawing (to see the stitch/seam details clearly) with short detailed descriptions about each part of the garment.
Plus the garment sketch on a mannequin to show the proportions on the body.
Page Three - Inspiration:
Including key images of existing garments and inspirational images to help the manufacturer visualise the fit and styling/final outcome, this helps to clearly communicate the look and feel of your garment. I also include notes and arrows to highlight the areas of interest in the images.
Page Four - Sample Measurements:
Here I display the sketch with indicators at where the measurements are taken (POM), and a detailed break down of the measurements in a chart for creating the first sample, with a blank column added for you to write your adjusted measurements after sampling/fitting.
From the sample measurements your factory will be able to create your samples, once you have your finalised samples, your manufacturer will be able to work with you to grade your final patterns.
Page 5 - Seam Map:
This is the technical bit where I break down of the types of seams, construction details, and /pocket bag information (if required). Here I like to really analyse how to get the best finish for a garment and recommend high-quality finishing details. Including images if necessary to illustrate. Badly finished garments are my pet peeve, and all the extra detail I go into there really helps to achieve a high quality finished garment.
Page 6 - Label Map:
Care label placement and information suggestions - I will also give you a suggestion about the best back neck branding label placement. There are a few different styles and ways of attaching branding labels, this is something we can discuss on our call if you know what style of label you will want. It is often a step that gets overlooked in the process but it is good to think about early on, what style of labelling you will want on your final garment, these are the finishing details which help create a finished professional garment with a strong brand image.
Page 7 - Artwork/Print/Graphics:
If your design includes any graphics, all-over print or embroidery, this is when I will scale up the graphic and provide a colour key, placement and scale information.
Page 8 - Colour-Way Information (If Required)
Displaying each colour-way clearly with a colour key. Included in the price I have a max of 3 different colour-ways.
Page 8 - Additional Comments Page:
This is for your own personal notes, it keeps all your notes with the relevant design and creates extra organisation. It is a small detail but can be helpful when in a factory environment.
Print your tech packs out, so you have physical instructions to hand when visiting manufacturers and look like the professional you are! Here is some feedback I have received about my work.
If you would like to create your tech packs with me please get in touch and I can help guide you through the design process. Email me at hello@lottiewoodsdesign.com
Love, Lottie xx